
Does the assumption that canvas printing demands professional studio equipment hold up under scrutiny?
You’ll find that archival-grade results emerge from controlled home environments when you master substrate preparation, ink-substrate compatibility, and post-print stabilization.
The process hinges on three variables: canvas weight (measured in ounces per square yard), fiber composition (cotton, polyester, or linen blends), and finish architecture (matte, satin, or gloss).
Your success depends on matching these specifications to your output method, whether aqueous inkjet deposition or thermal dye sublimation.
The following framework eliminates guesswork through precise technical parameters.
Choose the Right Canvas Weight and Material for Your Project
The weight you select directly determines how your finished print performs under stress, and you’ll want to align this specification tightly with both scale and intended use.
Canvas Weight Categories
| Weight Range | Best Application |
|---|---|
| Light (4–7 oz) | Small formats, easier handling |
| Medium (7–10 oz) | Framed pieces, home décor |
| Heavy (10 oz+) | Large stretched canvases |
Material Selection for Inkjet Printing
Choose cotton canvas for inkjet printing when you need strong ink absorption and vibrant, deeply colored results. A 7 oz cotton duck delivers soft, lively output.
For superior moisture and fade resistance, you’ll select polyester canvas. It pairs well with sublimation and requires specialized inks.
Poly-cotton blends offer a middle ground: cotton’s print character combined with polyester’s improved water and fade resistance.
Regardless of material, you’ll avoid debris and loose fibers. Pick a tight weave to minimize excessive absorbency issues.
Recommended Products

Koala 100% Printable Cotton Canvas Sheets, unlike ordinary “coated paper”, is a kind of real printable fabric. At 17 mil thick, tear-resistant, but still breathable, stretched and easy to trim.

Premium Quality: Our printable canvas paper is crafted from 100% real cotton, providing a substantial 340 gsm or 125 lb thickness that ensures a premium feel. Each pack includes 20 sheets of 8.5 x 11 inch printable fabric, meticulously designed to deliver high-resolution, vibrant prints with exceptional color accuracy. Ideal for a wide range of applications, from professional-quality artwork to personalized home decor and gifts, this canvas paper guarantees superior results.

Print sharp, photo-quality images from your computer onto these soft (never rubbery!) fabric sheets
Prime Your Canvas to Prevent Ink Bleed and Fading
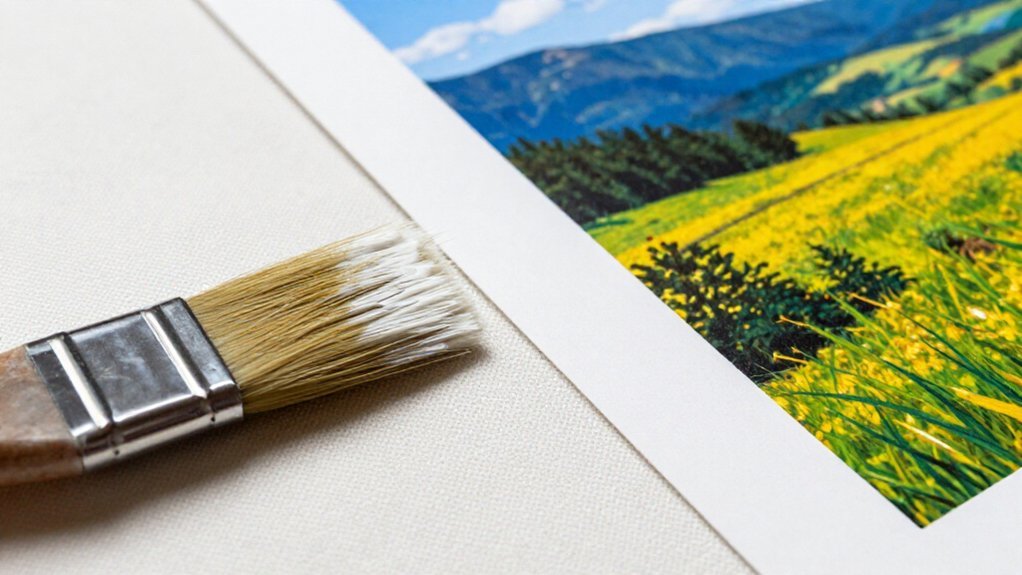
When you’re working with raw cotton or linen canvas, priming becomes essential. These natural fibers possess high absorbency that pulls ink laterally through their weave, producing feathered edges and diminished detail resolution. You’ll want to apply a white primer such as gesso, creating a smoother, less-absorbent surface that allows ink to sit evenly atop fibers for sharper details and brighter color saturation.
Preparation Protocols
- Clean and dry your Canvas completely before priming
- Allow primer to cure fully before proceeding
- Verify compatibility between primer and your specific inkjet printer formulation
Polyester Canvas offers superior moisture resistance, yet raw polyester still demands appropriate preparation for excellent sharpness when you Print Directly onto the surface. Remember: priming addresses bleed and clarity, but you’ll still need archival UV-protective sealant post-printing to combat light-induced fading.
Recommended Products

Premium White Gesso Medium: High-quality 16.9-ounce (500ml) acrylic gesso designed to prime surfaces for acrylic and oil paints, ensuring smooth application and long-lasting artwork.
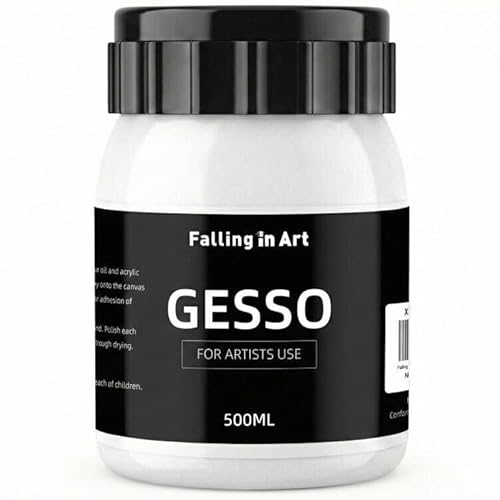
Excellent Coverage: Falling in Art gesso primer provides exceptional coverage, outstanding adhesion, and quick-drying efficiency. It is a premium surface preparation supporting a variety of artistic techniques

GESSO PRIMER – Krylon Gesso Spray Paint primes art surfaces quickly and thoroughly, so you're ready to go.
Choose Between Inkjet Printing and Heat Transfer Methods
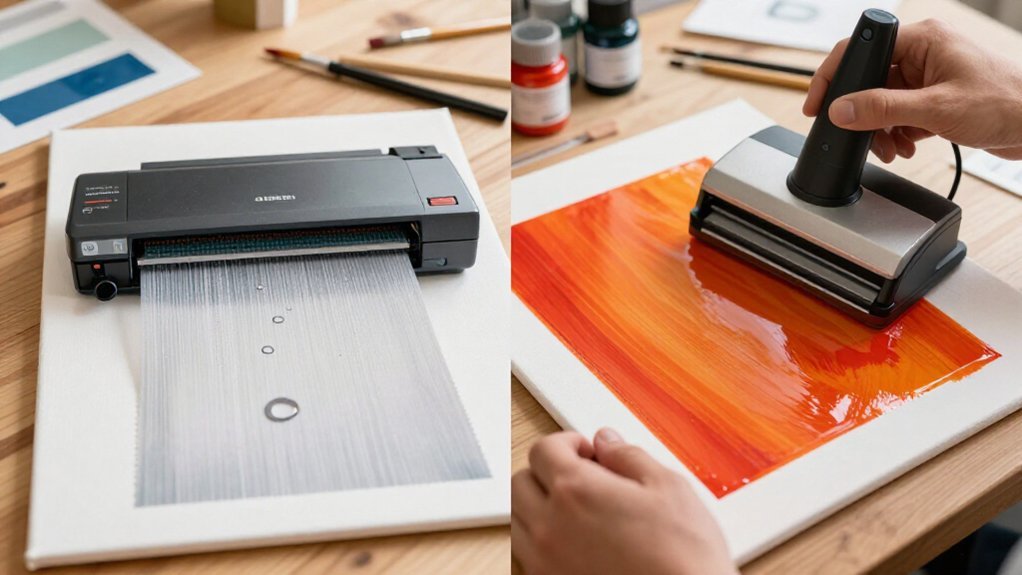
Because your desired aesthetic and substrate selection fundamentally shape output quality, you’ll need to evaluate inkjet direct-to-canvas against heat transfer methods before committing resources.
Inkjet Printers: Direct Application
You’ll load 7oz cotton duck into compatible inkjet printers, letting pigment inks penetrate absorbent weave for saturated color. Gesso priming reduces bleed risk; expect several hours’ drying before stretching.
Heat Transfer: Indirect Bonding
You’ll mirror your design, print onto specialized transfer paper, then move an image using iron or heat press onto polyester canvas for superior moisture resistance. Cool completely before peeling; seal afterward for UV protection.
Key Distinctions
| Factor | Inkjet | Heat Transfer |
|---|---|---|
| Substrate | Cotton/linen | Polyester preferred |
| Prep | Gesso coating | Correct paper selection |
| Post-process | Air dry | Cool, peel, seal |
Recommended Products


Print Directly Onto Canvas With an Inkjet Printer
You’ll need to master three critical phases to achieve gallery-quality results: Canvas Preparation Essentials, Printer Settings Optimization, and Post-Print Handling Tips. Select a 7–10 oz cotton canvas for ideal ink absorption, configure your workflow for 300+ DPI RGB files at maximum quality with canvas/thick media settings, and execute proper drying protocols followed by UV-protective sealing.
Each stage demands precise technical execution, from gesso application on unprimed substrates to rear-feed alignment and multi-hour curing periods before stretching or finishing.
Recommended Products

Premium Quality: Our printable canvas paper is crafted from 100% real cotton, providing a substantial 340 gsm or 125 lb thickness that ensures a premium feel. Each pack includes 10 sheets of 8.5 x 11 inch printable fabric, meticulously designed to deliver high-resolution, vibrant prints with exceptional color accuracy. Ideal for a wide range of applications, from professional-quality artwork to personalized home decor and gifts, this canvas paper guarantees superior results

Professional-Grade Pure Cotton & Heavyweight Feel Crafted from 100% natural cotton fibers with a substantial 350 gsm weight, this canvas delivers a premium, heavyweight texture identical to traditional artist canvas—far superior to standard coated paper—providing an authentic professional creative experience.. Each pack includes 10 sheets of 11×17 inch printable fabric,.

Premium Quality: Our printable canvas paper is crafted from 100% real cotton, providing a substantial 340 gsm or 125 lb thickness that ensures a premium feel. Each pack includes 10 sheets of 11 x 17 inch printable fabric, meticulously designed to deliver high-resolution, vibrant prints with exceptional color accuracy. Ideal for a wide range of applications, from professional-quality artwork to personalized home decor and gifts, this canvas paper guarantees superior results.
Canvas Preparation Essentials
| Material | Property | Recommendation |
|---|---|---|
| Cotton | Absorbency | Preferred; permits excellent ink penetration |
| Raw/untreated | High absorbency | Pre-treat with gesso to reduce bleed |
Gesso application controls absorbency, preventing blur in inkjet deposition. You’ll align the image with adequate margins, protecting critical elements from clipping. Post-print, allow complete drying for several hours before handling or stretching.
Troubleshooting Common Defects
- Bleeding: reduce ink flow via tightened settings
- Uneven coverage: eliminate wrinkles; improve surface prep
- Poor detail: verify 300 DPI minimum; confirm gesso application on absorbent substrates
Printer Settings Optimization
Parameter | Setting | Rationale
Resolution | 300 DPI minimum | Ensures detail fidelity at enlarged canvas dimensions
Color Mode | RGB | Aligns with inkjet printer gamut behavior
Media Type | Canvas, thick media, or photo/art paper | Calibrates ink deposition for textured substrates
Print Quality | Highest available | Maximizes detail reproduction on woven surfaces
When Printing on Canvas, you’ll optimize your print settings through deliberate configuration. Select a printer that supports rear feed mechanisms, as this path accommodates thicker substrates without jamming. If you’re working with raw cotton, apply gesso priming first; this barrier coat reduces ink bleed and blurriness from excessive absorbency.
Load your canvas carefully, engage the rear feed if available, and execute the print job. Allow several hours for complete drying before any handling. Should output appear dull or washed out, adjust your color profile and verify the media type selection rather than compromising resolution.
Post-Print Handling Tips
Once the inkjet deposition cycle completes, your canvas enters a critical stabilization phase where solvent evaporation and pigment binding determine final image integrity.
Drying Protocol
Lay the substrate flat in a dust-controlled environment; allow pigments to dry completely for 4–6 hours minimum. Premature handling causes coalescence disruption and irreversible smearing.
Surface Finishing Options
| Method | Application | Outcome |
|---|---|---|
| Heat press or iron | 300°F, 30 seconds, parchment barrier | Enhanced ink penetration, fabric flattening |
| UV-protective sealant | Two thin coats, cross-directional application | Fade resistance, mechanical durability |
Critical Precautions
- Avoid surface contact until fully cured
- Do not substitute gesso for sealant; priming controls absorbency, not environmental degradation
- Position finished work away from direct UV light sources even with protective coating
Handle edges only after verification of complete dryness before stretching or mounting.
Transfer Images to Canvas With Heat Press or Home Iron
Because canvas presents unique thermal and surface characteristics compared to standard textiles, you’ll need to modify your heat transfer approach accordingly. Print on Canvas by first selecting transfer paper matched to your substrate color: light or dark. Print the image mirrored onto transfer paper so it reads correctly after pressing.
Pre-wrinkle your canvas by ironing flat first. Position the transfer paper face down, then apply heat with a heat press for even pressure distribution. Alternatively, use a regular iron at maximum temperature with steam disabled. Press until adhesion completes, then cool entirely before peeling to prevent misalignment.
- Mirror your image prior to printing for correct orientation
- Pre-press canvas to eliminate surface irregularities
- Allow complete cooling before paper removal
Seal the finished piece with archival, UV-protective sealant. Maintain ventilation and heat-resistant gloves throughout; never leave equipment unattended, as canvas and finishing products present flammability risks.
Recommended Products

True to Size: This polyester white tshirts for sublimation available in S, M, L, XL, and XXL US sizes, with an oversized, relaxed fit that suits various body types. The simple design makes it perfect for both men and women, offering a casual, effortless style

Fun for DIY: These sublimation blanks bulk includes 80% polyester and 20% cotton which is suitable for sublimation printing and the vibrant prints won't fade over time.You can add any color to match different outfits.The heat transfer bag also fun for DIY gifts
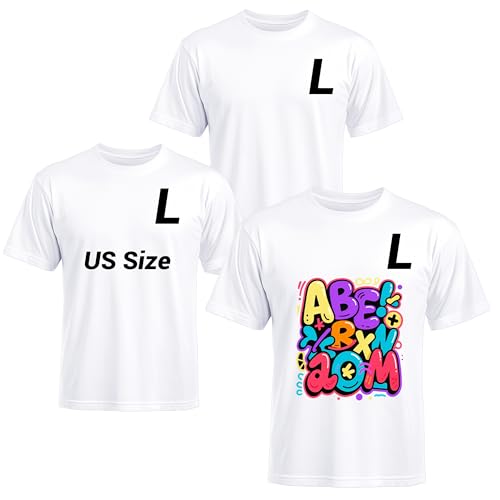
US Size:The sublimation blanks are US size L. It coincides with the current popular oversize style, and has a relaxed, casual and lazy style that you will definitely like.
Troubleshoot Ink Bleed, Fading, and Cracking Issues
When you’re printing on canvas, you’ll encounter three pervasive defects that compromise archival quality: ink bleed, fading, and cracking.
Ink bleed stems from overly absorbent raw cotton or insufficient ink viscosity. You mitigate this by selecting a tighter-weave substrate and priming with gesso to reduce porosity. Verify printer settings for canvas media; wrinkles or uneven tension also produce blotchy, bleed-like misprints.
Fading accelerates when moisture and UV radiation degrade colorants. You’re protecting vibrancy with archival, UV-protective sealants. For ink behavior, choose pigment-based inks, which outperform dye-based alternatives in lightfastness. Let the canvas dry completely before handling.
Cracking occurs from over-stretching or inflexible finishes that constrict fabric movement. You stretch properly and select sealants maintaining elasticity with the substrate.
| Defect | Cause | Solution |
|---|---|---|
| Ink bleed | Absorbent cotton; thin ink | Tighter weave; gesso prime |
| Fading | UV/moisture exposure | Pigment-based inks; UV sealant |
| Cracking | Over-stretching; rigid sealant | Proper tension; flexible finish |
Recommended Products

Professional-Grade Pure Cotton & Heavyweight Feel Crafted from 100% natural cotton fibers with a substantial 350 gsm weight, this canvas delivers a premium, heavyweight texture identical to traditional artist canvas—far superior to standard coated paper—providing an authentic professional creative experience.Each pack includes 5sheets of 8.5 x 11 inch printable fabric.

Professional-Grade Pure Cotton & Heavyweight Feel Crafted from 100% natural cotton fibers with a substantial 350 gsm weight, this canvas delivers a premium, heavyweight texture identical to traditional artist canvas—far superior to standard coated paper—providing an authentic professional creative experience.Each pack includes 25 sheets of 8.5 x 11 inch printable fabric.

Premium Quality Cotton Canvas: Cleart printable canvas is crafted from 100% real cotton, featuring a generous 380gsm (140lb) thickness that ensures an elegantly durable and premium-quality feel. Each pack contains 10 sheets of 8.5''x11''(216mmx279mm) premium quality canvas.
Seal and Protect Your Finished Canvas Print From Damage
Although premature sealing compromises archival integrity, you’ll preserve your canvas print’s longevity by ensuring complete ink curing before applying protective coatings. Let the canvas dry completely; damp ink causes clouding and poor adhesion.
Patience in curing preserves archival integrity—seal only when ink is fully dry to prevent clouding and adhesion failure.
Seal and Protect your investment with an archival-quality, UV-shielding clear sealant. This coating prevents photodegradation from light exposure, strengthens water resistance, and guards against abrasion.
- Apply sealant uniformly across the entire surface to ensure even protection
- Follow manufacturer cure times exactly before handling, stretching, or framing
- Select varnish formulas offering exceptional scratch resistance and colorfastness
Avoid over-handling until fully cured. Post-curing, maintain the sealed canvas only through gentle dusting with dry microfiber or lightly dampened cloths. Never expose the protective coating to harsh cleaners or solvents, as these degrade the barrier and compromise archival performance.
Recommended Products

Acrylic Gesso Primer: This white gesso provides an excellent, opaque base coat, preparing canvas, wood, paper, cardboard, and other porous surfaces for paint application and color vibrancy.

Prepare surfaces for a range of art projects
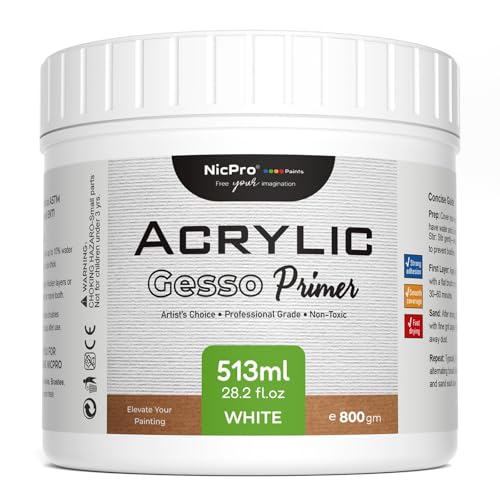
White Gesso Primer – Nicpro Premium White Gesso Primer for Acrylic Painting (28.2 Oz / 834ML Full Tub), can provides a stable, grippable base surface for porous substrates (canvas, wood panels, etc.), allowing subsequent acrylic paint or oil paint to adhere firmly, with fuller colors and not easy flake.
Leave a Reply