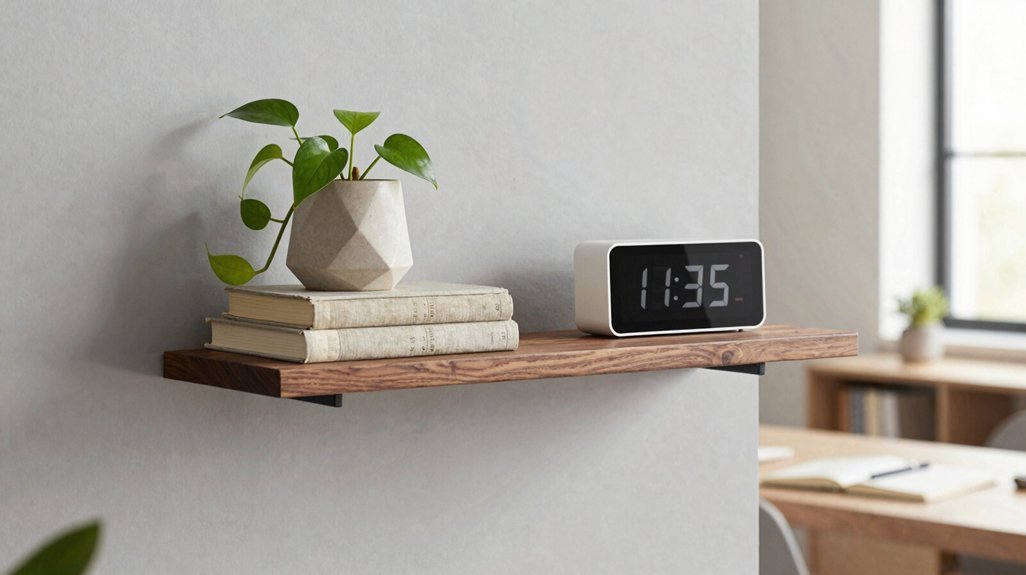
You’ll select hardwood stock, typically oak, maple, or walnut, in nominal 1×8 or 1×10 dimensions; actual measurements run ¾” × 7¼” or ¾” × 9¼”.
Cut components to finished length using a miter saw, allowing ⅛” tolerance for seam alignment.
Cross-cut front, back, and side panels; rip bottom stock to width on a table saw.
Sand all faces progressively: 80-grit for material removal, 120-grit for surfacing, optional 180-grit for finishing.
Break front edges with ⅛” round-over to eliminate splinter risk.
Assembly and Internal Frame Construction
Dry-fit your box joint configuration, verifying square with a framing square; diagonal measurements must match within 1/32″.
Apply wood glue to miters or butt joints, clamp for 30–45 minutes, then cure 24 hours.
Build a cleat frame from 2×4 construction lumber, notching studs to recess hardware.
Locate studs with a 16″ on-center scan; secure with 3″ #10 construction screws rated for 100 lbs shear each.
Your shelf slides over, locked by 1¼” pan-head screws through concealed pilot holes.
What torque setting prevents spin-out in soft pine framing?
Choose Floating Shelf Material and Cut to Size
Sand progressively: 80-grit removal, 120-grit smoothing, optional 180-grit finishing. Soften front edges to prevent divots, particularly in soft pine.
Pre-assembly finishing streamlines later steps; edge profiles via palm router with round-over bit yield consistent results.
Recommended Products

Perfect Fit for Any Space: These deep floating shelves measure 36" wide x 8" deep. They fit cookbooks, gallery frames, or children's bookshelves, and the 8" depth provides ample space for large cookbooks, picture frames in multiple sizes, or bins of kids' books and toys. Supports up to 50 lbs — strong enough for daily essentials.

The bracket has a 1" backplate and is designed for use with boards 1.5" thick or more.NOTE: The board thickness we refer to is the actual (not nominal) size.

The bracket has a 1" backplate and is designed for use with boards 1.5" thick or more.NOTE: The board thickness we refer to is the actual (not nominal) size.
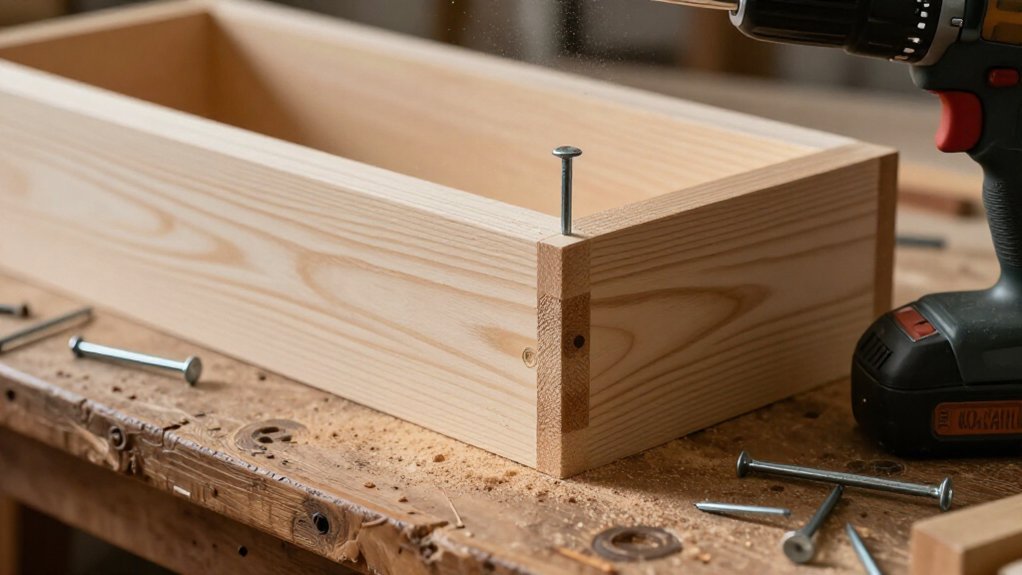
Dry-Fit and Assemble the Shelf Box
| Task | Tool/Method |
|---|---|
| Verify square | Carpenter’s square + level |
| Test fit | Hand-assemble without fasteners |
| Hold alignment | Painter’s tape across joints |
Corner treatment options include 45° bevels for clean joints or simpler butt joints if you’re using pocket holes later. When satisfied, apply glue beads where beveled corners meet, clamp until adhesive grabs, and secure with brad nails. Painter’s tape maintains registration during this process.
Remove tape once set, fill holes with wood filler, and sand through 80 grit minimum before finishing.
Your shelf box now presents as one solid unit, ready for the internal framing stage.
Recommended Products

✓ HIGH-QUALITY METAL MATERIALS: Our shelf support is made of thick and heavy duty iron materials.Features a thick black matte surface coating that delivers enhanced water resistance and effective anti‑rust performance for long‑term daily use.

【Standard 90° bending】In order to ensure that each shelf bracket can be at 90° to the maximum extent possible, we add a rigorous picking process before the shelf brackets are packaged. The standardized 90-degree design is so important that it’ s the objective factor in ensuring that items remain level and do not tip over after being placed on the board(board is not included).

Measuring 5-7/8 x 2 inches, these brackets perfectly work with a traditional 6 to 8-inch deep shelves board (Orders do not include boards)
Build the Hidden Frame and Find Your Studs
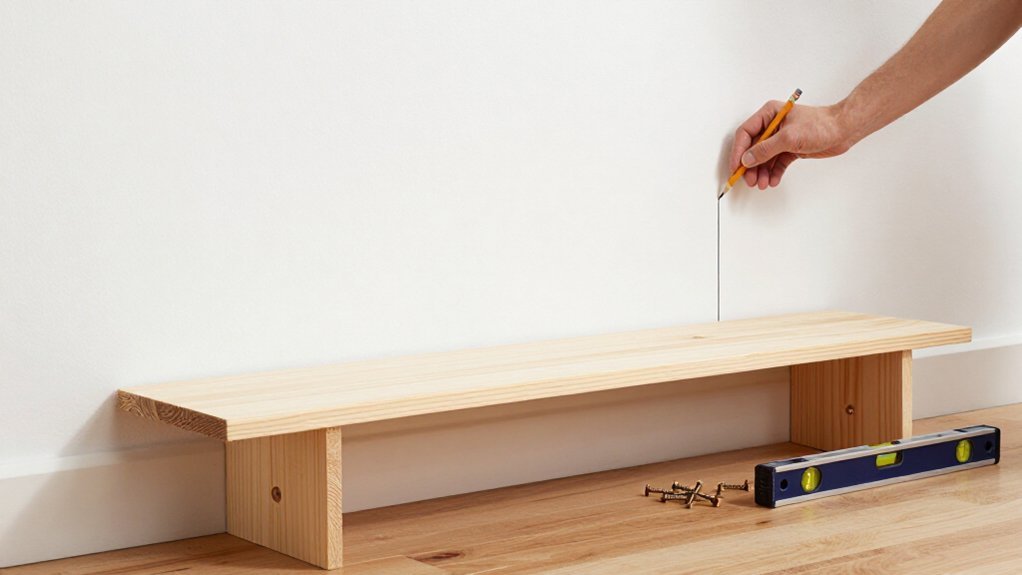
With your shelf box curing, you’ll now tackle the structural backbone that makes the “floating” illusion possible: the hidden frame and its connection to wall framing.
Locate Your Studs
Grab your stud finder and scan the wall where the shelf will sit. Mark stud centers; you’ll fasten into at least two studs, typically 16″ or 24″ on center. Use a level to draw your top edge line, this marks where the top of your hidden frame will sit.
Build the Support
Build the support to fit inside your shelf box, matching your shelf depth exactly. Make sure no frame member aligns exactly where a stud falls, so the back piece seats flat. Drill a hole through the back piece at each stud location for your lag screws. If you can’t hit studs, stop: drywall anchors won’t resist the prying forces at the top of the frame.
Recommended Products

Heavy Duty Floating Shelf Brackets- Made of solid steel, these industrial shelf brackets have a weight capacity of up to 75 pounds

Heavy-Duty Steel Construction: Crafted from durable 304 stainless steel, designed to support up to 30lb per pair. Ideal for stabilizing marble countertops, solid wood shelves, or furniture requiring extra support—significantly stronger than standard brackets.

Hidden Suspension Bracket: This shelf bracket features a unique hidden suspension design, providing a sleek and modern look to your shelves.
Level and Screw the Frame to the Wall
Hold the shelf frame steady using a level to confirm plumb and true horizontal. Pre-mark screw locations through the frame at each stud center to maintain alignment. Drill pilot holes into the wall structure at marked points to prevent material splitting.
Driving Fasteners:
Drive screws (typically three wood screws per frame) into studs behind the wall surface with firm, even pressure until the frame sits flat without twist or gap.
Once secured, you’ll slide the shelf covering over the frame, then install retention screws through the back to prevent forward displacement.
Recommended Products

What You Will Get: The package includes 2 pair aluminum alloy French cleat, 4 X short screws, 4 X long screws, 4 X expansion tubes, 1 X Level Tool tool, including all the accessories needed for quick and easy installation.

【Heavy Duty & Invisible Z Bar】: 24 inch interlocking wall mounting bracket can supports up to 160 pounds. Heavy duty Z hanger is 3mm thick, aluminum alloy, durable, anti-corrosion, anti-rust. The Z-bar aluminum bar can completely concealed after mounting, make your favorite decoration more beautiful, bringing elegance to your home and office

Premium Quality: Our cleat screws are made from high-quality stainless steel, which is known for its durability and rust resistance. They are designed to provide long-lasting performance and are perfect for use in various applications, including sports equipment, furniture, and industrial equipment.
Slide on the Shelf and Secure It With Hidden Screws
The frame is now firmly anchored; you’re ready to sheath it with the finished shelf assembly.
Anchor secured, the frame awaits its finished sheath—ready to disappear into seamless floating form.
Slide on the shelf over the concealed rods that you’ve driven into studs located behind the wall plane. Your hollow box should seat flush, with the bracket assembly disappearing inside the shelf cavity. Tap gently with a mallet and scrap wood block to avoid marring the surface.
Secure the assembly with anti-slip screws, driven through the shelf bottom into the rods, preventing rearward migration under load. These hidden screws remove visible hardware, keeping the Floating Shelves look clean. Set screws provide additional locking force, tightened once you’ve confirmed level alignment.
Verify positioning: Recheck for level and snug seating post-tightening. Even minimal gap or wobble induces front-edge droop and long-term deflection under distributed loads.
Recommended Products

Perfect Fit for Any Space: These deep floating shelves measure 30" wide x 8" deep. They're perfect for kitchen spices, bathroom towels, or office supplies, and the 8" depth provides ample space for spice jars, rolled towels, or binders and file folders. Supports up to 50 lbs — strong enough for daily essentials.

【Create Modern Floating Shelves Your Way】Stop settling for fixed-size shelves. Build custom floating shelves that perfectly match your space, style and budget using the wood you choose. Whether creating modern, minimalist or Scandinavian interiors, enjoy complete design freedom at a lower cost than custom shelving. The compact hidden design also makes it ideal for floating box shelves, floating cubes, floating nightstands and creative DIY furniture.
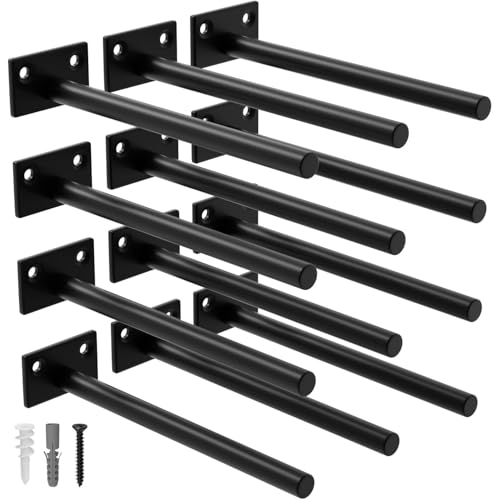
Superior Quality: Our floating shelf bracket is expertly crafted from premium steel, ensuring exceptional durability and an impressive weight capacity of 110lbs
Leave a Reply