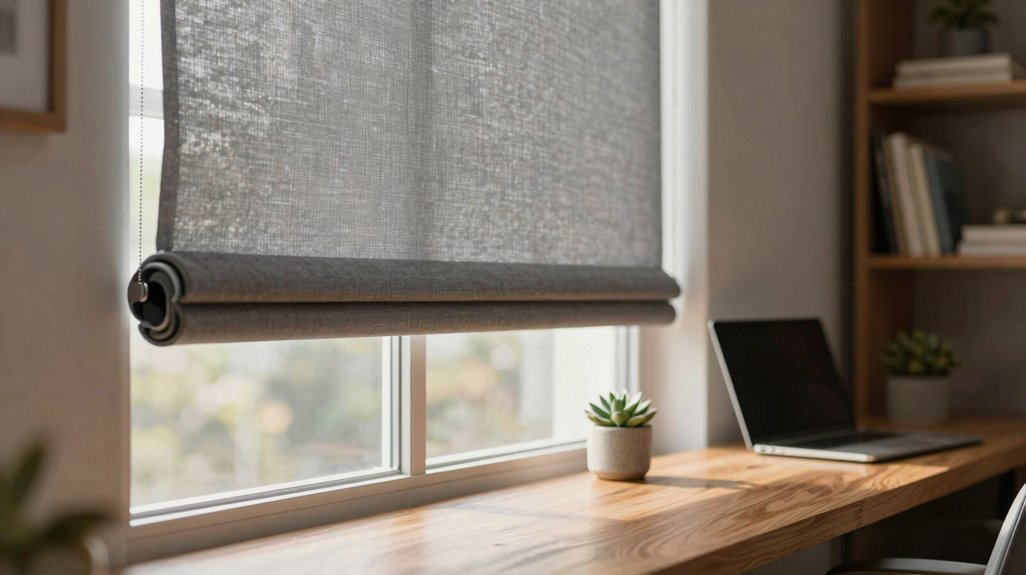
Like dismantling Daedalus’s wings, removing window treatments demands precision rather than force. You’ll navigate five distinct phases: bracket identification, valance removal, headrail detachment, hardware extraction, and surface restoration.
Each step requires specific tools: flathead screwdriver for hinged box brackets, Phillips #2 for standard mounts, putty knife for paint-sealed fixtures. Your bracket type dictates methodology: spring-loaded concealed brackets demand lateral pressure, while standard brackets need vertical lift.
The process consumes 15 to 30 minutes per standard 36″ window, assuming no corrosion or over-painting. Proper technique prevents drywall compromise, frame damage, and costly repairs.
One misstep at the headrail stage, however, turns a simple task into a frustrating extraction. You’ll need to identify your mounting system before touching a single screw.
Remove Standard Blinds in 4 Quick Steps
Because standard blinds utilize hinged box brackets with visible retention mechanisms, you’ll first need to identify your specific mounting hardware before attempting removal.
Step 1: Prepare the Assembly
Remove any decorative valance, then lay the slats flat using the tilt wand.
Step 2: Release the Headrail
Use a flathead screwdriver to pry open each hinged door on the box brackets. The headrail slides out horizontally once retention is disengaged.
Step 3: Extract Hardware
After the headrail clears, unscrew the mounting brackets from the window frame using a Phillips head screwdriver.
Step 4: Safety Protocol
Position a step stool on stable ground. Wear protective eyewear; dust and debris accumulate above bracket locations during extraction.
Standard blinds require minimal tools, though bracket corrosion may require penetrating lubricant.
Recommended Products

Ideal for upholstery, glass, stereo, electrical and paint/body jobs

Warning: You'd better disassemble the existing wand tilter in your blinds and make it compare with the Size and HEXAGON Shape of our tilters. NOT compatible with non-hexagonal gear holes.

Damage Prevention – The trim removal tool boasts a larger, flatter, and wider contact area compared to traditional tools. Its integrated wedged center significantly enhances removal efficiency while preventing damage to both trim and walls.
Match Your Method to Your Bracket Type
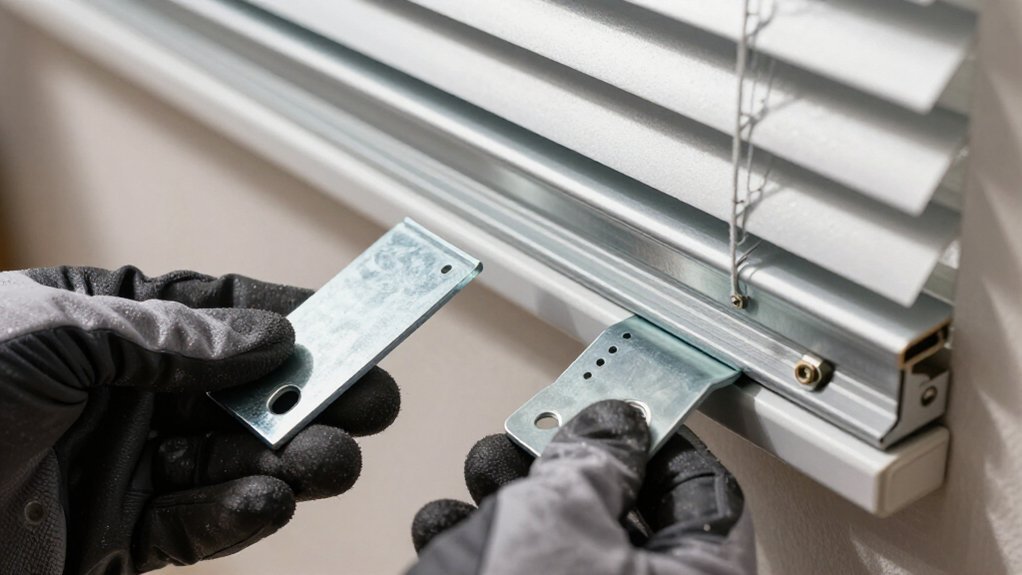
Before you attempt extraction, you’ll need to identify which of three primary bracket architectures secures your headrail: hinged box brackets with visible retention doors, spring-loaded hidden brackets that conceal their release mechanisms, or clip-based systems designed for vertical slat configurations.
Hinged Box Brackets
For standard hinged brackets on mini blinds or Custom Window treatments, insert a flathead screwdriver to open the retention door. Slide the headrail straight out; no tilting required.
Spring-Loaded Hidden Brackets
Place thumbs on the front of the headrail, push the release area as you lift and tilt the top away from the window. Work one bracket at a time until you sense disengagement.
Push the release, lift, and tilt the headrail away—working one bracket at a time until disengagement.
For brand-specific variants, fully raise the blind, locate the tab at the back of the headrail, then push up while tilting outward.
Clip-Based Systems
For vertical blinds inside mount installations, unclip each slat from spring clips by lifting slightly up and toward you before detaching the headrail. Always secure lift cords first to prevent tangling during removal of blinds or shades.
Recommended Products
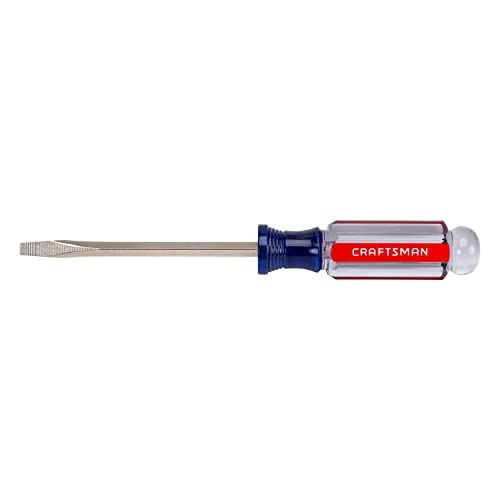
STRENGTH AND DURABILITY: Made of heat-treated alloy steel

STRENGTH AND DURABILITY: Made of heat-treated alloy steel
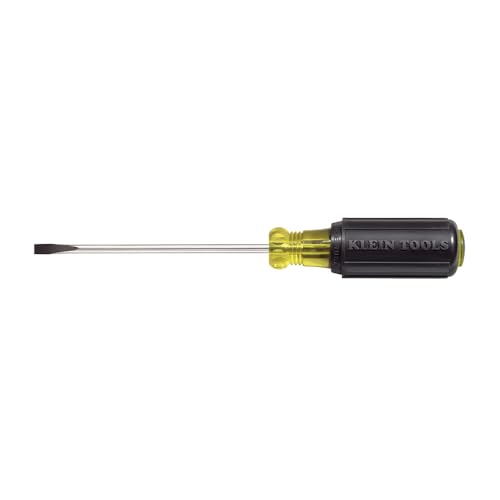
Narrow cabinet tip permits blade access where space is limited
Pop the Headrail Off the Brackets
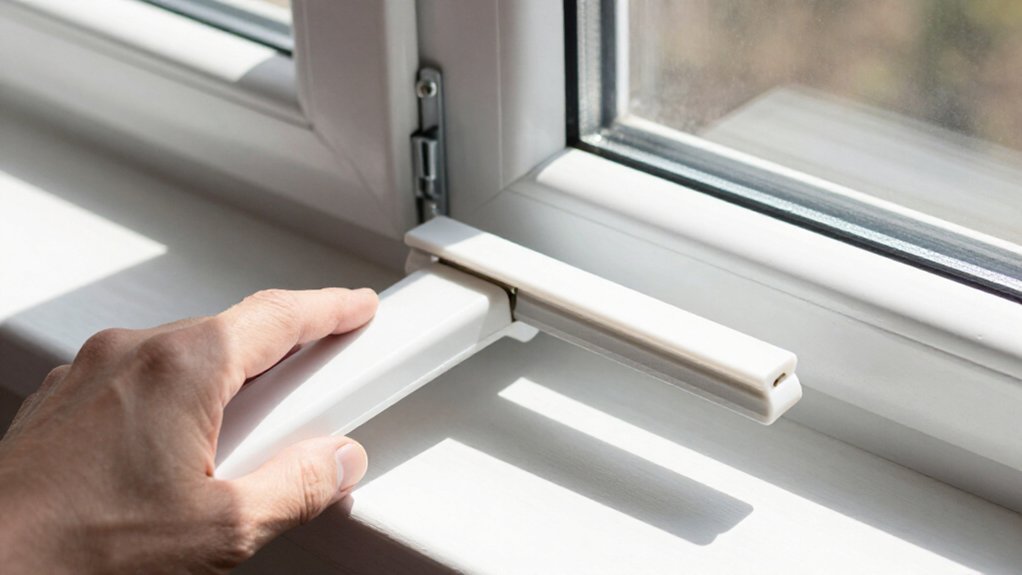
Once you’ve identified your bracket architecture, you’re ready to detach the headrail itself.
Before you pop the headrail off the brackets, clear any vertical obstructions. Remove or unhook slats and vanes so the top rail pulls free without resistance. Examine how your window coverings clip onto their mounting brackets.
- Horizontal blinds: Open hinged bracket doors and slide the headrail straight out.
- Roller shades: Release spring-loaded rear tabs while tilting the headrail toward you.
- Roman shades: Disengage clip-and-bracket connections with gentle downward pressure.
- Work bracket-by-bracket in tight installations.
Lower the front carefully once the headrail snaps free. Whether updating living room window treatments or moving existing installations, this controlled detachment preserves both components for reinstallation.
Recommended Products
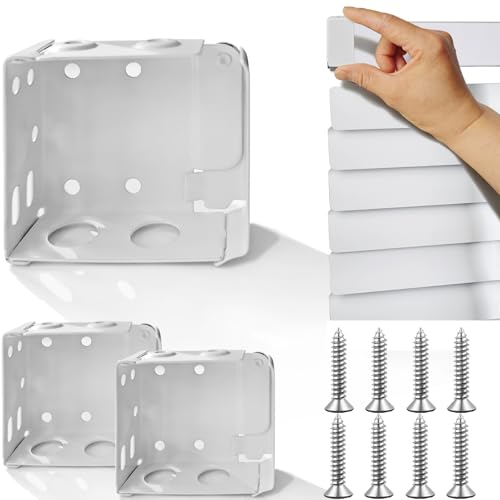
✅【Package Include】: Set of 2 mini blind brackets (two brackets as a set, a Left bracket and a right one, with 8 screws)

►【Package Include】: 6pcs mini blind brackets in white with 12 Installation Screws Included. (2 sets, each set has left and right blind brackets), the quantity is enough to meet your use and replacement in daily life.

Package Include: You will receive 12pcs white blind brackets with 48 installation screws, each mounting bracket is approx. 2.5 inch in length, 1.75 inch in height and 1 inch in depth, which is sufficient to meet your needs. Perfect Fit for 1.5" Headrails. They do NOT fit 2" or 2.5" blinds. Verify your size before ordering to avoid returns.
Take Down Brackets Without Wall Damage
With the headrail detached, your attention shifts to the mounting hardware still anchored to the window frame or wall surface. To take down brackets without wall damage, you’ll need precision and patience.
Preparing the Bracket
If paint seals the bracket edges, score the perimeter with a sharp utility knife first. This prevents drywall peeling when you remove bracket screws.
Removing Hardware
Use a Phillips head screwdriver or drill set to low torque. Apply slow, steady reverse pressure to avoid stripping screw heads or drywall anchors. For old anchors, grip with needle-nose pliers and pull straight out; angled extraction enlarges holes and compromises wall integrity.
Surface Restoration
Once you’ve cleared all blinds use remnants, fill voids with spackle and sand smooth. Touch up with matching paint. Proper wall preparation ensures a smooth surface when choosing the right blinds and shades for your next installation.
Recommended Products

Note:Make sure it fits your blind – check size/shape in images and compare with your brackets.

Size: Approx. 1.75 inch in height and 2.5 inch in width. COMPATIBILITY WARNING: Please measure your existing blinds before ordering.
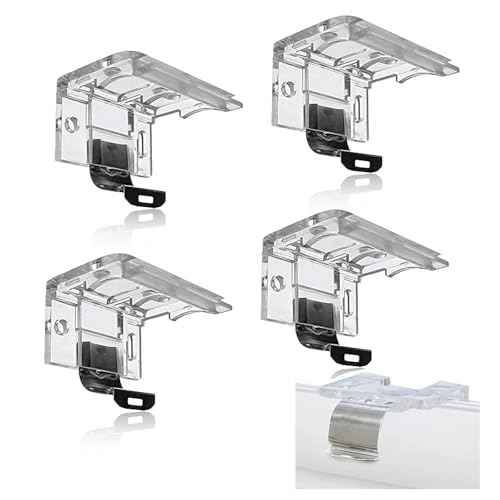
Accurate Sizing and Compatibility: Designed specifically to fit the blind top headrail with a height of 1" (25mm), ensuring a ieal fit for your 1/16" x 1-19/32" x 1-11/16" blinds
What If the Blinds Won’t Budge?
Even when you’ve followed standard removal protocols, window treatments occasionally resist detachment due to environmental sealing, mechanical seizure, or installation anomalies. In a rental space, you’ll encounter this with faux wood blinds almost always, particularly on the single window receiving direct solar exposure.
Here’s one thing to remember: every window in your inventory demands individualized assessment before force application.
- Score paint-sealed brackets: Cut perimeter paint film with a utility knife before manipulating bracket doors or screw heads.
- Release hidden brackets: Insert cloth-wrapped flathead screwdriver between headrail and clip, working sequentially rather than rail-wide force.
- Free seized springs: Apply sustained, measured pressure to release tabs until mechanical give registers.
- Dislodge vertical systems: Stabilize rail, then pry incrementally from metal bracket, verifying clip engagement points before each leverage application.
Protect all finishes during extraction. Blinds and shades require methodical deinstallation across every window type.
Recommended Products

The 3.5inch(89mm) Universal Valance Clip is ONLY FIT for vertical blinds with a 1-1/2inch(38mm) width and 1/8"(3mm) top headrail .

✔【Package Contents】: You'll get 12 pieces of vertical blind repair vane savers, quick and easy repair of your broken vertical blind vanes, and enough for long-term use. So you can repair your vertical blind slats instead of choosing another, this can help you save a lot.

【Durable and Strong】: These white vertical blind repair vane savers are made of high-quality metal, durable and strong. Strong gripping force can effectively repair the top broken vertical blind slats and will not lose its effect due to temperature.
Leave a Reply