
You’ll need to assess your mounting hardware configuration before proceeding, as bracket systems vary between manufacturers. Standard headrail brackets typically employ either spring-loaded front levers or concealed rear tabs requiring manual compression.
Gather your tools: a flathead screwdriver (3/16″ or 1/4″ blade width), Phillips #2 driver, and a step stool rated for your load capacity.
Extend the blinds fully to retracted position for unobstructed bracket access.
Disengage each bracket sequentially, supporting the headrail weight to prevent sudden release.
The slats or vanes detach via tilt mechanisms or rotational extraction, depending on your blind type.
Finally, extract mounting screws with controlled torque to preserve wall substrate integrity.
The critical failure point most DIYers overlook occurs right at the start.
Figure Out Your Blind Type Before You Remove It
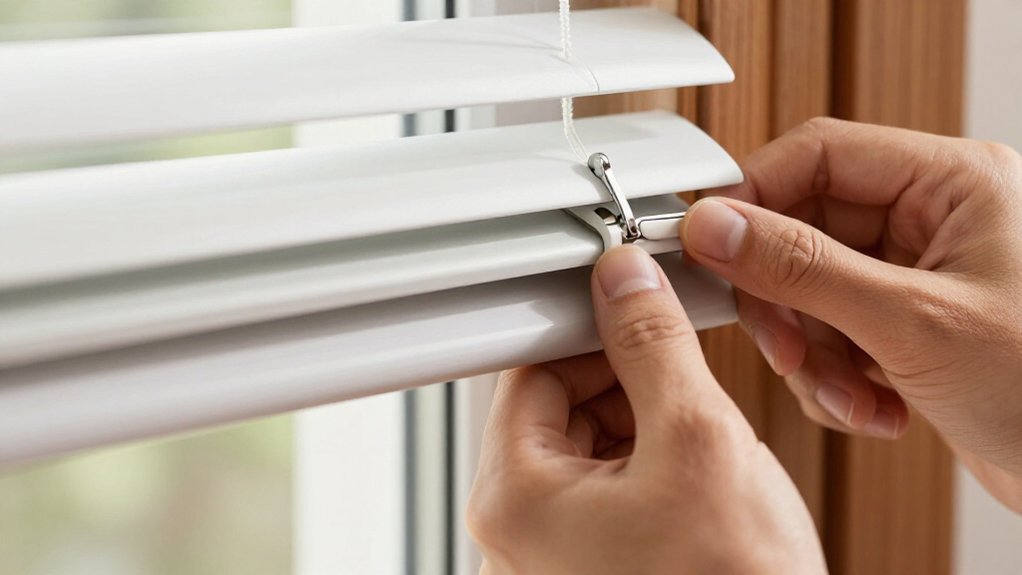
Start by examining your blind type, because each system demands a distinct removal protocol. Whether you’re handling Venetian blinds, faux wood blinds, Roman blinds, or mini blinds, you’ll need to identify the specific hardware configuration before proceeding.
Inspect your headrail closely. Look for mounting brackets: visible hinged brackets with front-release levers, or concealed brackets hidden behind the rail. Hidden brackets typically require depressing a rear release tab.
For cordless Roman blinds, verify whether the system incorporates a back-mounted headrail release mechanism that must disengage before extraction.
Pull your window blinds fully upward. Visually scan the headrail ends and top rear surface to pinpoint exact release points. This preliminary identification ensures you remove blinds without damaging the mounting hardware or surrounding trim.
Recommended Products

Enough quantity: you will get 40 pieces of vertical window blinds, sufficient quantity to meet your requirements, suitable for your window blind or valance installation, bringing you much convenience

Package: 2pcs Center Support Brackets For Low profile Window Blinds 2inch.

✔️ 60 Pieces – There are 60 Pieces 1.18inch*1.18inch Vertical Blind Repair Tabs in the package. So you have a sufficient number of Verticle Blinds Snap in Replacement to fix all the Vertical blinds in your home.
Get Your Screwdriver and Step Stool Ready
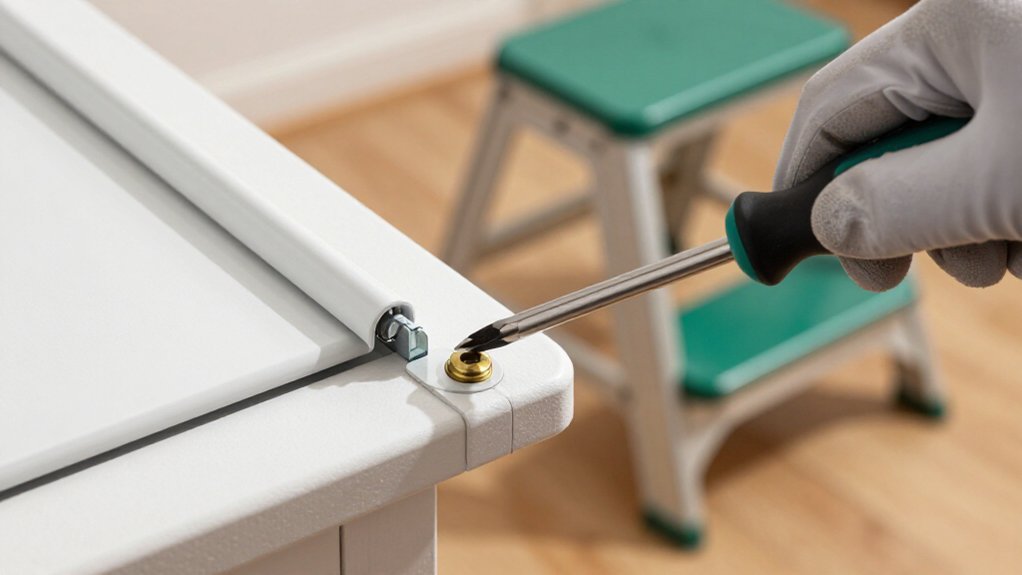
Once you’ve mapped your blind’s hardware configuration, you’ll need to equip yourself properly before attempting extraction.
Essential Tools and Equipment
You’ll gather a flathead screwdriver to gently pry the headrail free from mounting brackets and a Phillips head screwdriver (or an electric drill) to remove the bracket screws. For blinds installed on higher windows, position a ladder or step stool beneath the window frame; verify stability before ascending, as removal requires firm pressure at the headrail and bracket points.
Safety Preparations
Don protective eyewear and gloves before prying or drilling. These guard against dust and debris dislodged from the bracket area. Clear and open the blinds, pulling them up fully to improve access to the top mounting brackets and release tabs.
Recommended Products

Package included: 2pcs Roman Shade Cord Lock.

4 Sets Available: Size 36×45.5×20mm. This Roman shade hardware kit includes 4 complete sets (each containing 1 bamboo cord lock and 2 swivel pulleys) of premium-quality components, ensuring smooth and secure operation. Each set allows for effortless adjustment, making it ideal for multiple blind installations or replacements

VERSATILE CORD COMPATIBILITY: Accommodates up to three professional lift cords, suitable for 1.4mm, 1.6mm, 1.8mm, 2.0mm, and 2.2mm string sizes.
Pop the Headrail Off (Even With Hidden Brackets)
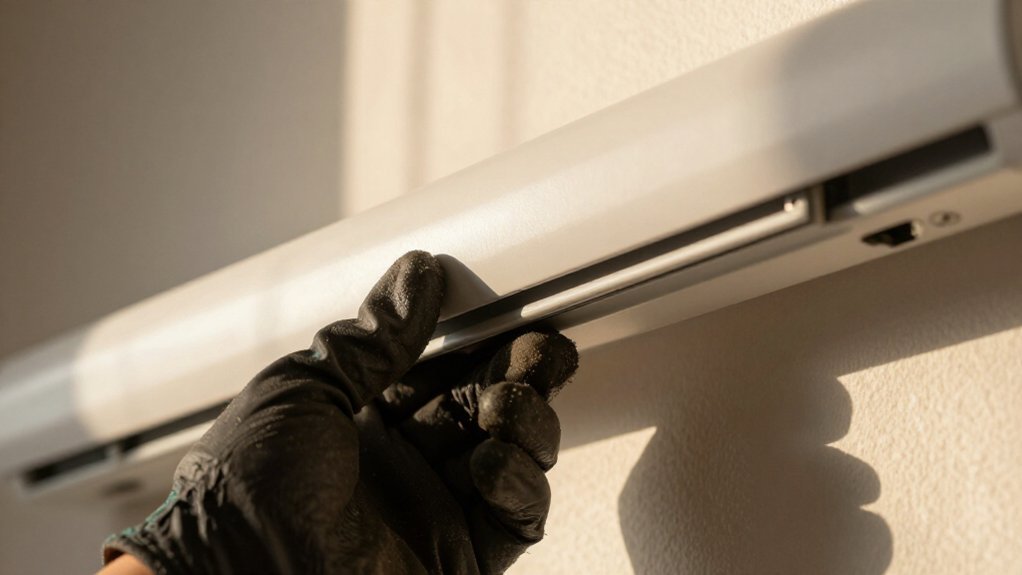
With the blinds fully retracted and your tools positioned, you’ll now execute the critical disengagement of the headrail from its mounting hardware. First, inspect the back of the headrail for concealed spring-loaded brackets or a protruding release tab.
Single-Bracket Release Protocol:
- Use a flathead screwdriver to press the release tab
- Push the headrail toward the window
- Gently pull the headrail forward until it disengages
Dual-Bracket Configuration:
- Release one bracket at a time; never attempt simultaneous disengagement
- Maintain manual support on the headrail throughout to prevent uncontrolled descent
Keep one hand secured on the lift system housing while you pull the headrail outward. You’ll hear an audible snap when the bracket clears. Lower the assembly carefully. If resistance persists, verify you’ve fully depressed the spring-loaded brackets before you pop the headrail off completely.
Recommended Products

What you receive: 6 pieces (3 sets) blind brackets in white, each set has left and right mounting bracket, which can be installed in blind stand, the quantity is enough to meet your needs
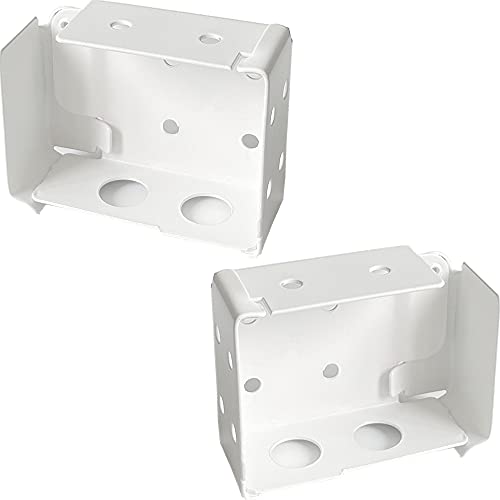
Package: A set(2 pieces – a left and a right) of low profile blind mount brackets, NOT INCLUDE any Screws

Note:Make sure it fits your blind – check size/shape in images and compare with your brackets.
Take Off the Slats or Vanes
The headrail now rests in your hands, its mounting hardware cleared. For horizontal configurations, lift the headrail to gather slats at the top of the blinds. Remove any valance masking the front of the blinds, then tilt the assembly to release the slats from internal mechanisms.
For vertical systems, rotate vanes 90 degrees to expose upper clips. Use a flathead screwdriver to pry one side of each clip outward, sliding vinyl vanes free without torsion damage.
Comparative Removal Matrix
| Blind Type | Critical Action | Tool Required |
|---|---|---|
| Faux/wood | Gather slats, pop valance | None |
| Venetian | Depress spring tabs | Flathead screwdriver |
| Roller | Extract bottom rail clamp | Screwdriver |
With venetian spring-loaded brackets, insert the flathead screwdriver to pry tabs outward; roll the blind to disengage. For roller assemblies, simply push the roller toward the bracket’s open end, pulling the bottom rail downward to free the cylinder.
Headrail away: store components sequentially by weight, heaviest (bottom rail) lowest.
Recommended Products
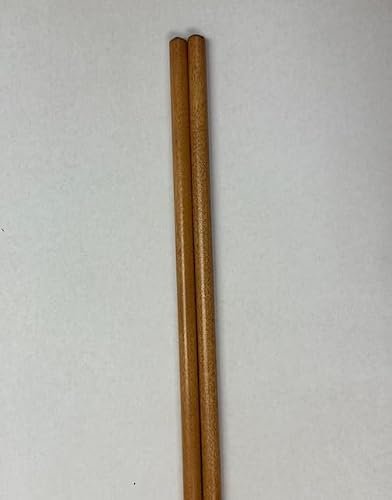
Real Wood Wand for Horizontal Blind, Wood or Faux Wood. Close Loop Tip. Qty:2

Warning: Please kindly check the size in the picture and make sure it can match your device before order.

30" Wood Tilt Wand for Horizontal Blind, Wood or Faux Wood. Qty 2
Pull Off the Brackets Without Damaging the Wall
Your mounting hardware remains the final obstacle between bare wall and completed removal. Whether you remove horizontal blinds or roller shades, use similar principles: work methodically to pull off the brackets without damaging the wall or window surface.
Preparation and Initial Cuts
Run a sharp utility knife along any painted-over bracket edges to break the seal before you unscrew. This prevents paint peeling. Wear protective eyewear and gloves while working overhead.
Fastener Removal
Take down blinds completely by backing out screws using a Phillips head screwdriver in slow, steady reverse motion; avoid drills that strip heads or pull drywall anchors. Some installations require a flathead for slotted fasteners. Remove blinds from the headrail toward the window frame to clear obstructions.
Bracket Extraction and Finishing
Pull off the brackets straight out with needle-nose pliers, never at an angle, to preserve anchor integrity. Fill holes with spackle, sand smooth, and touch up with matching paint.
Recommended Products

►【Package Include】: 4pcs mini blind brackets in white with 8 Installation Screws Included. (2 sets, each set has left and right blind brackets), the quantity is enough to meet your use and replacement in daily life.

Package contents: you will receive 12 pieces of clear blinds hold down brackets; They can meet your daily use and replacement, suitable for blind installation

WHAT YOU WILL RECEIVE: The product contains 6 clear blinds hold-down brackets and 12 screws and white caps. The transparent design can be easily integrated into various blinds to meet your daily needs
Leave a Reply